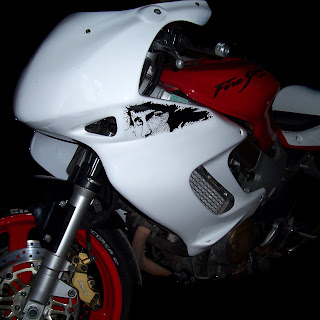
Motorcycle fairings are typically an aftermarket additional part that motorcycle riders install onto their bikes. There are a variety of different processes that can be used to install fairings; it simply depends on the type you are installing. It is important to note that if you not are familiar with working on your motorcycle that you may wish to have a professional install them to avoid complication and error.
#1 - The first step in installing your new motorcycle fairings would be purchasing a new set or finding used ones. You can go online or to a local dealership to find new bodywork. The fairings can cover the front, sides, and exhaust pipe to your motorcycle which will aid in the aerodynamics of the bike and give it a nice streamlined look!
#2 - Determining which areas the fairings need to be connected to is the next crucial step in motorcycle fairing installation. OEM fairings ordered directly from the manufacturer or OEM replacement fairings which can be found on NiceCycle.com will not require additional work or drilling in order to locate the installation holes. Other motorcycle bodywork may require extra time and cutting or drilling in order to get them ready for installation.
#3 - The next step is the actual installation of the motorcycle fairings. This is usually done by using a rachet or screwdriver depending on what the bolt set up is like. Once you have completed the process of tightening the fasteners or screws from the bodywork into the frame of the motorcycle, you are then ready to go for a ride!

